Treatment Steps
Finding Anboini orthodontist is a major step forward for perfect smile.
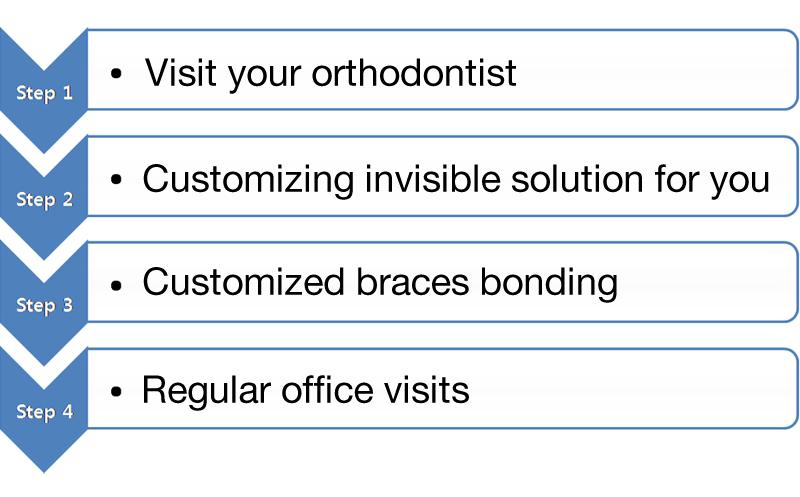
The following outlines the treatment step.
-
1. Visit your orthodontist
If you decide to treat with Anboini ligual braces after consulting with an orthodontist, a set of records such as X-rays, photos, and impressions will be taken and your next appointment be scheduled. The records are sent to the Anboini lab for making your invisible solution.
-
2. Customizing invisible solution
Using CLIB (Customized Lingual Indirect Bonding) method1, Anboini braces are customized for your teeth. After 3~4 weeks of production, your customized invisible solution is sent to your orthodontist and treatment starts.
-
3. Customized braces bonding
The treatment begins with attaching your customized Anboini braces to the teeth. With the use of individual transfer tray1, customized braces are bonded to the teeth one at a time. Unlike other competitor systems, Anboini system uses an individual transfer tray for bonding because the customized braces are precisely and efficiently delivered to the patient’s mouth.
-
4. Regular office visits
After bonding, you need to visit your orthodontic office periodically during treatment time, which varies by each individual patient and the amount of work required to align the teeth. Due to all-round Anboini braces, convenient preformed straight archwire, and precise brace placement with individual transfer tray, your teeth will move in the most efficient manner possible.
Contact Anboini Orthodontists
Subscribe To RSS
Click to subscribe to RSS for real time updates
http://www.anboini.com/product/latest/feeds/
You could add above URL in your favorite RSS reader
Page QR Code
About Us
For 25 years, we have used Fujita’s multi-slotted lingual brackets and its associated mushroom archwires, who is the originator of lingual orthodontics. By the change of the time, the concept of the straight archwire also came into request in lingual orthodontics, which could not keep up with the Fujita lingual bracket. ...more